Preparing Your Property for Shed Installation: Step-by-Step Guide
A new shed adds more than storage space; it adds function, organization, and long-term value to your property. But before your shed installation day arrives, a little preparation can make a big difference. From choosing the right site to making sure the area is level and accessible, proper planning ensures your structure is placed securely and ready to last for years.
At North Mountain Structures, our goal is to make every shed installation as simple and stress free as possible. With a few easy steps, you can help our team deliver and set up your shed efficiently, no matter the season. This guide walks you through everything you need to know to prepare your property for installation day.
Step 1: Choose the Right Location
The first step in preparing for your shed installation is deciding exactly where your new structure will go. The location you choose will affect not only how your shed looks but also how well it functions and how long it lasts.
Look for an area that is level, well-drained, and easy to access. Avoid spots where water tends to collect after rain or where the ground feels soft, as standing moisture can lead to foundation issues over time. Ideally, your shed should sit slightly higher than the surrounding area to allow for proper drainage.
Think about how you plan to use your shed. Will it be close to your home or driveway for convenience? You might prefer it tucked farther back for a cleaner view of your yard. Leave enough space to open doors and move large items easily. Make sure you can walk around the shed comfortably.
Finally, check your property boundaries and any local zoning requirements. A few extra minutes spent measuring and planning now will prevent potential issues later and ensure a smooth, hassle-free installation.
Step 2: Provide a Delivery Walkthrough Video
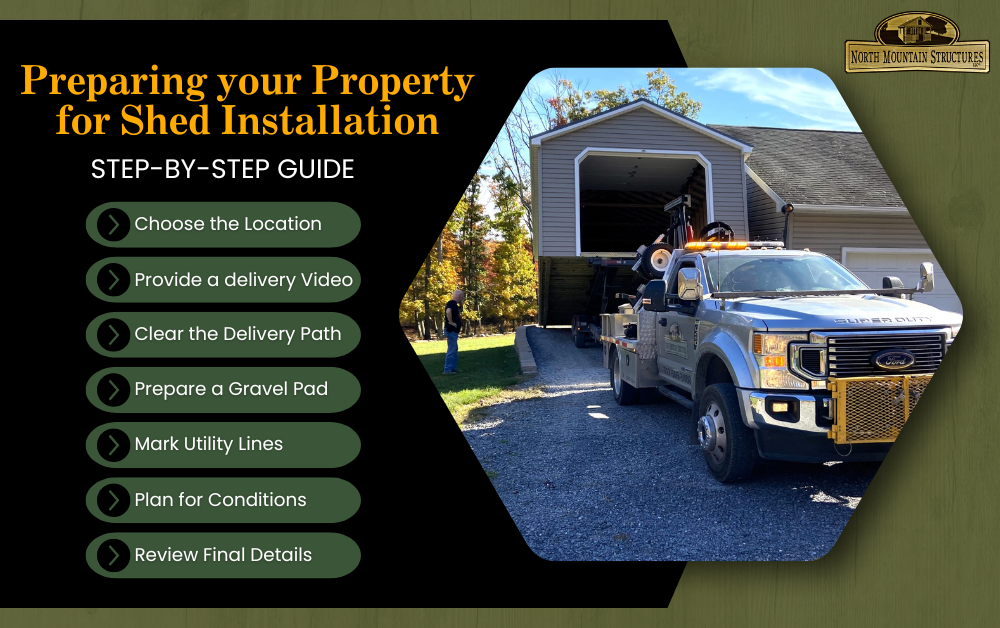
To keep shed installation day running smoothly, North Mountain Structures asks each customer to provide a short walkthrough video. This simple step helps our team understand your property’s layout before arriving. It also allows us to plan the best approach and bring the right equipment.
Your video should include two parts:
Walkthrough from the street to the shed site: Start filming at the street or driveway and walk all the way to the spot where your shed will be placed. Keep the camera pointed in the direction of travel to show the full delivery path, including turns, slopes, or narrow sections.
Panoramic view of the yard: Once at the installation spot, slowly turn in a full circle to capture the entire surrounding area. This helps our crew see how much open space is available and identify any potential obstacles.
These quick videos give our delivery team valuable insight into your property so they can plan accordingly. By sending them in ahead of time, you’ll help ensure a safe, efficient, and stress-free shed installation.
Step 3: Clear the Delivery Path
Once you’ve chosen your shed location and sent your walkthrough video, check that the delivery path is clear. A smooth, open route helps our team position your shed quickly and safely. It also prevents damage to your property or the structure.
Before your scheduled delivery, take a few minutes to inspect the entire path from the street to the installation site and remove anything that could get in the way.
Here’s what to check:
Move vehicles, trailers, and equipment out of the driveway or yard area.
Remove lawn furniture, garden décor, or toys that could block access.
Trim low-hanging branches or overgrown shrubs that might interfere with the shed or delivery equipment.
Open or temporarily remove fence panels or gates if extra width is needed for the shed to pass through.
In winter, clear snow or ice from the delivery route and lightly salt icy patches to keep the area safe for the crew.
Taking these steps ensures the delivery team can navigate your property easily and helps prevent damage to your yard or shed during installation.
Step 4: Prepare or Request a Level Gravel Pad
A solid, level foundation is one of the most important factors in a successful shed installation. It keeps your shed stable, prevents doors from warping, and helps water drain properly away from the structure.
If you already have a level gravel or concrete pad, double-check that it’s firm and even. Make sure it’s large enough for the shed you ordered. The base should extend a few inches beyond the shed’s footprint on all sides. This provides proper support and stability.
If you don’t have a prepared foundation, North Mountain Structures can provide a level gravel pad before delivery. Our team will handle the site preparation to ensure your shed sits perfectly flat. This helps it stay secure for years to come. Gravel pads work well for most properties. They provide excellent drainage, prevent shifting, and handle frost or ground movement better than concrete.
By confirming your foundation in advance or requesting a gravel pad through North Mountain Structures, you’ll make installation day faster, safer, and stress free.
Step 5: Mark Utilities and Underground Lines
Before any shed installation takes place, it’s important to make sure the area is free of buried hazards. Many properties have underground utilities—such as electric, gas, water, or internet lines—that may not be visible from the surface. Marking these ahead of time keeps everyone safe and helps prevent costly damage.
Homeowners should contact 811 (Call Before You Dig) at least a few days before installation. This free service will locate and mark any underground lines on your property so our crew knows where it’s safe to work.
If you have private lines like irrigation systems or septic tanks, mark those areas with flags or paint. Include invisible pet fences too. Share this information when you send your delivery walkthrough video. It helps our team plan the safest delivery route.
Taking this precaution ensures a smooth installation, protects your utilities, and gives both you and our crew peace of mind on delivery day.
Step 6: Plan for Weather and Ground Conditions
Weather plays a big role in how smooth your shed installation goes, especially during winter months. Cold temperatures, snow, and rain can all affect the ground and access to your property, so a little planning ahead can make a big difference.
If your delivery is scheduled during or after wet or snowy weather, check the condition of your yard a day or two before installation. Make sure the ground is firm enough to support the delivery equipment and that any snow or ice has been cleared from the delivery path. In muddy areas, laying down temporary boards or gravel can help protect your lawn and make access easier.
For winter installations, keep the area around the site and along the delivery route free of ice and snow buildup. If weather conditions are too severe, North Mountain Structures will work with you to reschedule promptly and ensure your shed is delivered safely and securely.
Step 7: Review Final Details Before Delivery
As your shed installation day approaches, take a few minutes to double-check that everything is ready. A quick final walkthrough helps avoid last-minute surprises and ensures a smooth, efficient setup.
Here’s a quick checklist to review before the crew arrives:
Site accessibility: Confirm that the path from the street to the installation spot is clear of vehicles, debris, and obstacles.
Foundation readiness: Make sure your gravel or concrete pad is level, compact, and ready for placement.
Walkthrough video submitted: Verify that you’ve sent your delivery video to the North Mountain Structures team so they can plan for the right equipment and approach.
Utility markings visible: Check that all underground utilities and private lines are still clearly marked.
Weather conditions safe: Clear any new snow, ice, or standing water from the delivery route if needed.
If possible, plan to have someone on-site during installation. This allows the delivery team to confirm placement details and make adjustments if necessary. A few minutes of preparation now helps your shed installation go smoothly, with your structure set exactly where and how you envisioned it.
Make Your Shed Installation Simple and Stress Free
Taking the time to prepare your property before shed installation isn’t just about convenience—it’s about protecting your investment. A well-prepared site allows the delivery crew to position your shed precisely, prevents unnecessary damage to your yard, and ensures your structure stays level and secure for years to come.
When the installation area is accessible, the foundation is ready, and the crew has all the information they need ahead of time, the process moves quickly and efficiently. Proper preparation also reduces the risk of delays caused by weather, soft ground, or unforeseen obstacles.
At North Mountain Structures, our goal is to deliver a shed that’s built to last and installed with care. If you’re ready to get started, send us your delivery video and site details today to schedule your shed installation. Our team will handle the rest—from preparing your gravel pad to placing your shed exactly where you want it.
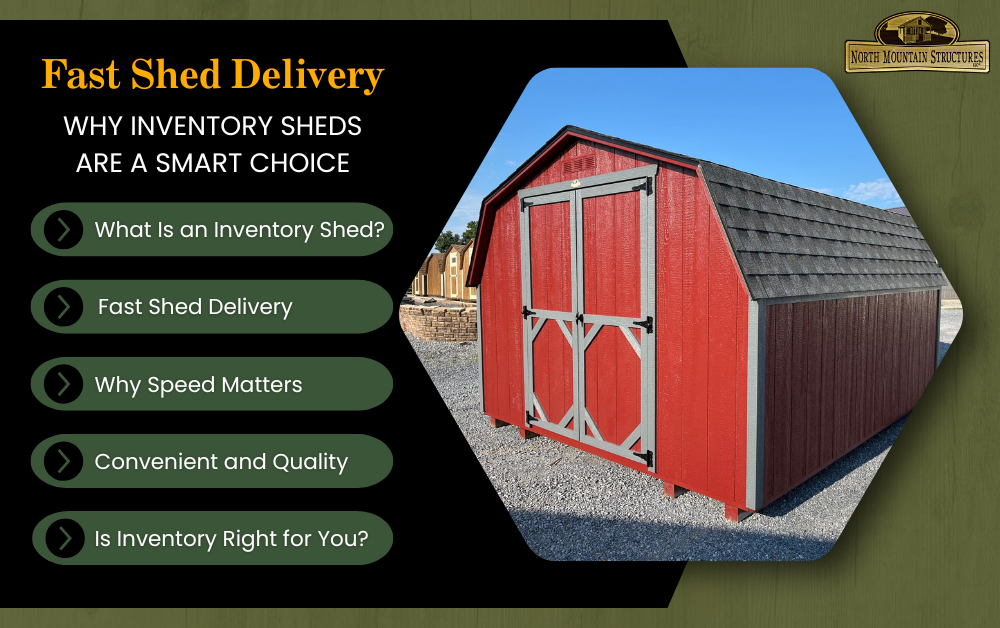
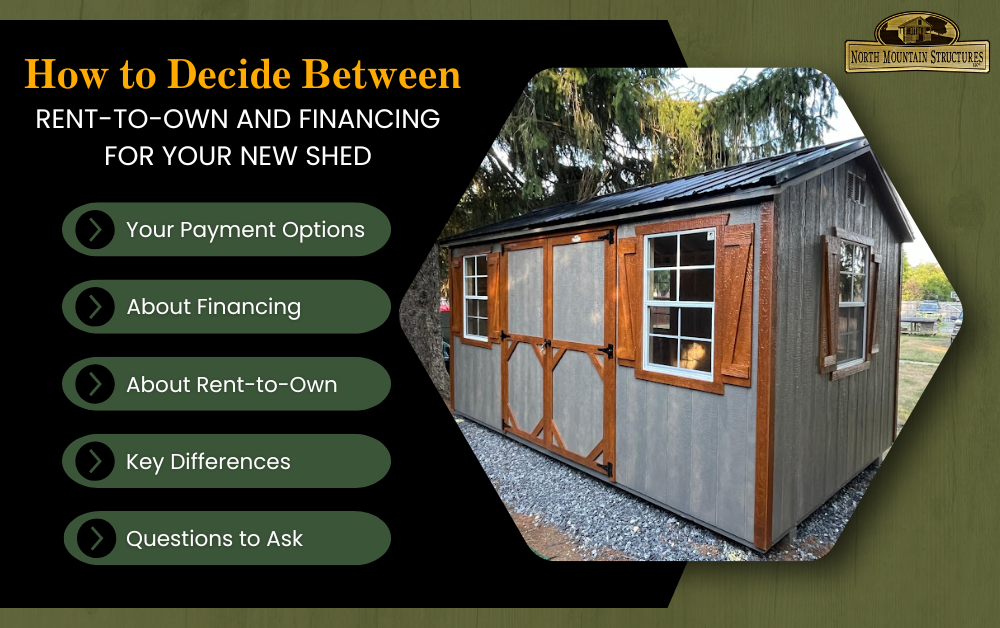
When you need more storage space, waiting weeks for a shed is not always ideal. Whether your garage is overflowing, your lawn equipment needs protection,
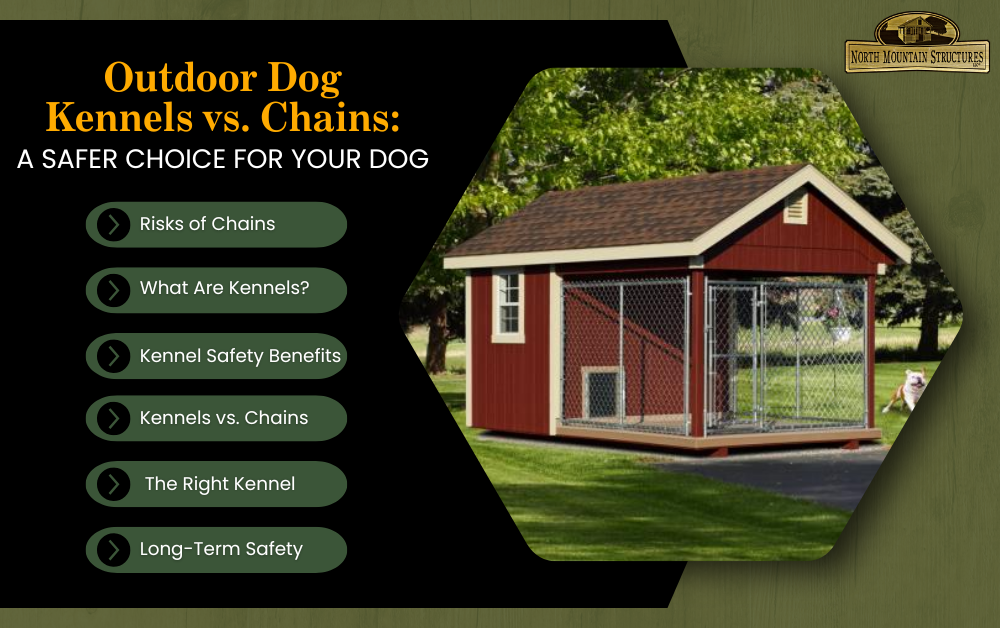
Bringing a dog home means taking responsibility for their safety, comfort, and well-being. For many pet owners, that includes finding a secure way to allow